
To fix wood trim around outside door, remove any damaged sections and replace them with new pieces. Use a high-quality wood adhesive or nails to secure the trim in place.

One of the most noticeable features of a home's exterior is the trim around the outside door. Over time, wood trim can become weathered or damaged, detracting from the overall appearance of the entrance. Repairing or replacing the wood trim can greatly improve the look of the door and give the exterior a fresh, updated appearance.
Properly fixing the wood trim will not only enhance the aesthetics of the entrance, but also provide protection against the elements, ultimately contributing to the longevity of the door and surrounding structure. We will outline the steps to effectively repair and enhance the wood trim around an outside door, ensuring a durable and visually appealing solution.
Assessing The Damage
The article provides a step-by-step guide on how to fix wood trim around an outside door. From assessing the damage to choosing the right tools and materials, this resource offers practical tips for a successful repair.
Identifying The Problem
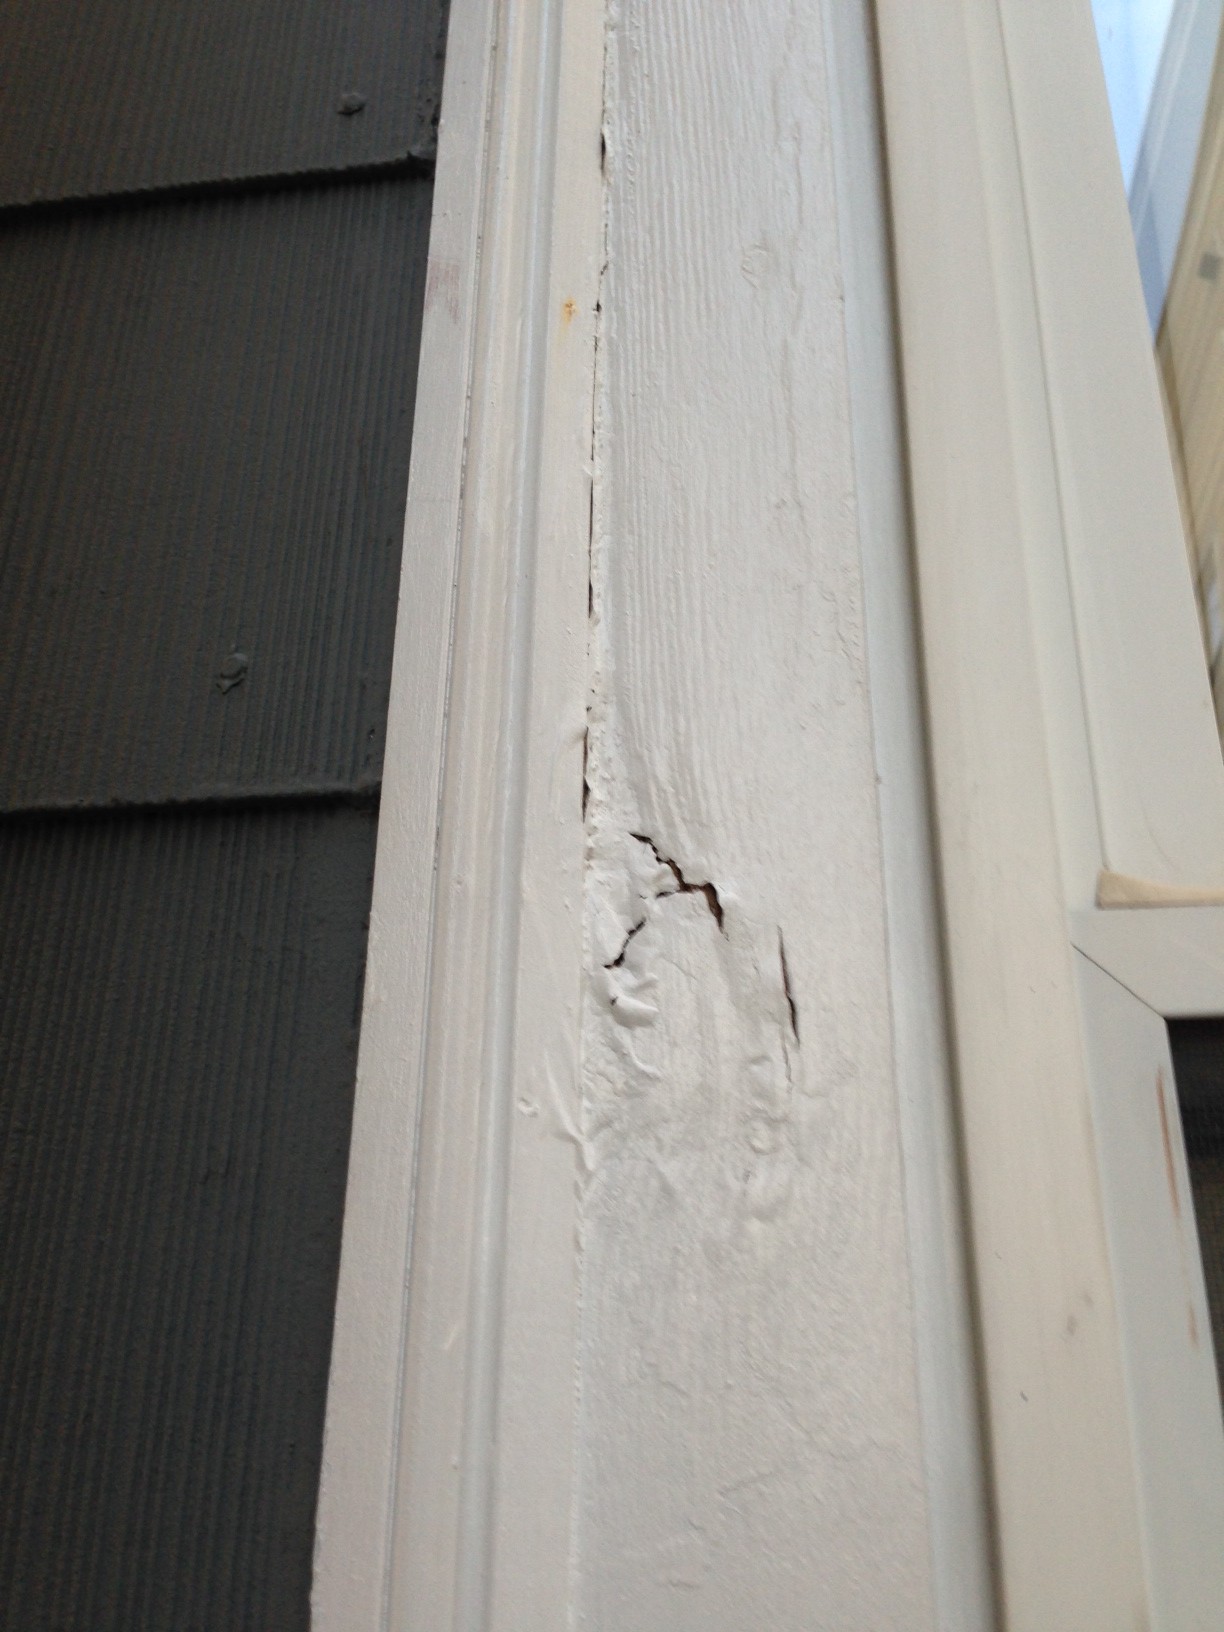
A well-maintained wood trim around an outside door adds charm and enhances the curb appeal of your home. However, over time, the wood trim can be susceptible to damage caused by weather conditions, moisture, insects, or general wear and tear. Before you can begin fixing the wood trim, it is essential to accurately identify the problem. This step will help you determine the right approach to repair.
Determining The Scope Of Repair
Once you have identified the problem with the wood trim around your outside door, the next step is to determine the scope of repair required. This step involves evaluating the extent of the damage and understanding if it can be fixed with minor repairs or if a more significant restoration is necessary.
Assessing the scope of repair will help you allocate the right resources and plan your repair project accordingly. It will also allow you to gauge the level of expertise required for the job and decide whether it is something you can tackle as a DIY project or if professional help is necessary.
- Inspect the wood trim closely to look for signs of rot, decay, or damage caused by insects.
- Check for any cracks, splits, or gaps in the wood trim that may be compromising its structural integrity.
- Observe if the wood trim is painted or stained and assess the condition of the finish. Look for peeling, chipping, or discoloration.
- Examine the surrounding area for water damage or signs of moisture intrusion, as this can indicate underlying issues that need to be addressed.
By thoroughly assessing the damage and determining the scope of repair, you will be equipped with the information necessary to successfully fix the wood trim around your outside door. Remember, taking the time to evaluate the problem before jumping into repairs will ensure that your efforts yield long-lasting results.
Gathering Materials And Tools
Before you start fixing the wood trim around your outside door, it's crucial to gather the necessary materials and tools. Having the right equipment will make the process smoother and help you achieve better results. Here's a breakdown of the essential items you'll need and the tools that will come in handy.
List Of Necessary Materials
- Wood trim pieces – Ensure the pieces match the existing ones in terms of size and style.
- Exterior wood filler – Used to fill in any gaps or holes in the trim.
- Primer and paint – To protect the wood against the elements and give it a finished look.
- Sandpaper – For smoothing out the surface of the wood before painting.
- Caulk – For sealing any gaps between the trim and the door frame to prevent water infiltration.
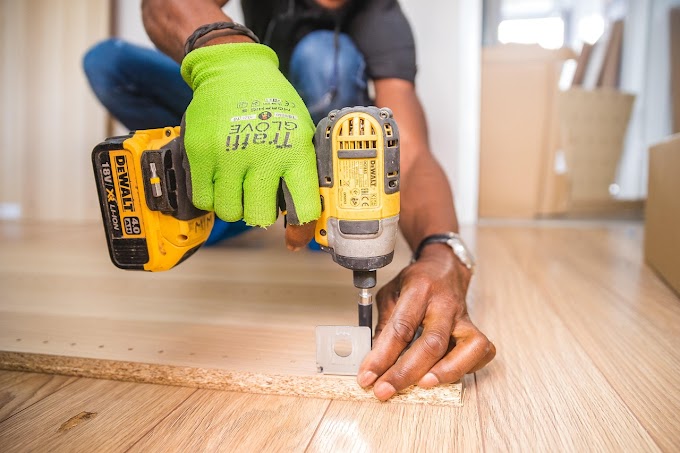
Important Tools To Use
- Miter saw – To cut the wood trim to the required length and angle.
- Hammer and nails – For securing the trim in place.
- Putty knife – Used to apply the wood filler and caulk.
- Paintbrushes or rollers – For applying primer and paint to the wood trim.
- Measuring tape – To ensure precise cuts and placements of the trim.
Preparing The Area
Before installing new wood trim around an outside door, it’s essential to prepare the area to ensure a smooth and professional-looking finish. This involves removing old trim, cleaning and sanding the surface.
Removing Old Trim
To start, carefully pry off the old wood trim using a pry bar or a putty knife. Make sure to work slowly and gently to avoid damaging the surrounding area. Once the trim is removed, clean the underlying surface to prepare it for the new installation.
Cleaning And Sanding The Surface
The next step is to clean the exposed area, removing any debris or old adhesive that may be present. A solution of mild soap and water can effectively clean the surface. After cleaning, it’s important to sand the area to ensure a smooth and even surface for the new wood trim. Use a fine-grit sandpaper to gently sand the exposed area, being careful not to apply too much pressure and create uneven surfaces.

Credit: www.youtube.com
Cutting And Installing New Trim
When it comes to fixing wood trim around an outside door, one of the crucial steps is cutting and installing new trim. This process involves measuring the trim accurately, cutting it to the correct length, and securely attaching it to the door frame. In this section, we will guide you through the steps of measuring and cutting the trim, as well as how to properly attach the new trim.
Measuring And Cutting The Trim
Before you start cutting the new trim, it's important to measure it accurately. Follow these steps to ensure an accurate measurement:
- Start by removing any old trim using a pry bar or a trim removal tool.
- Measure the length of the door frame where the trim will be placed.
- Add an extra inch or two to the measured length to allow for any needed adjustments.
- Using a miter saw, cut the trim to the measured length, ensuring the angles are properly aligned.
Once you have the correct measurements and have cut the trim to size, it's time to move on to the next step - attaching the new trim.
Attaching The New Trim
Attaching the new trim properly is essential for a secure and long-lasting installation. Here's what you need to do:
- Clean the door frame to remove any dirt or debris.
- Apply a thin layer of construction adhesive to the back of the trim using a caulk gun.
- Align the trim with the door frame and press firmly to ensure proper adhesion.
- Secure the trim in place using finishing nails or a brad nailer, spacing them evenly along the length of the trim.
- Fill any nail holes with wood filler and sand the trim to create a smooth finish.
- Lastly, paint or stain the trim to match the door and the overall aesthetic of your home.
By following these steps, you can successfully cut and install new trim around your outside door, giving it a fresh and polished look. Remember to measure accurately, use the right tools, and pay attention to the details for the best results.
Finishing And Painting
When it comes to fixing wood trim around an outside door, one of the crucial steps is the finishing and painting. This is the phase where you give your wood trim a polished and professional look, ensuring it blends seamlessly with the overall aesthetic of your home. In this section, we will cover the essential steps of filling gaps and holes in the trim and then move on to priming and painting it to perfection.
Filling Gaps And Holes
To achieve a seamless look, it's important to fill any gaps and holes in your wood trim before painting it. Follow these simple steps:
- Inspect the trim for any visible gaps, cracks, or holes.
- Using a high-quality wood filler, apply a generous amount to the gaps and holes.
- Smooth out the filler using a putty knife, ensuring it is level with the surface of the trim.
- Allow the wood filler to dry completely, following the manufacturer's instructions.
- Once dry, sand the filled areas with fine-grit sandpaper until smooth.
Now that you have filled the gaps and holes, your wood trim is ready for priming and painting.
Priming And Painting The Trim
Properly priming and painting the wood trim will not only enhance its appearance but also provide protection against external elements. Follow these steps for a flawless finish:
- Clean the wood trim surface with a mild detergent to remove any dirt, dust, or grease.
- Lightly sand the surface to create a slightly rough texture for better paint adhesion.
- Apply a coat of high-quality primer specifically designed for wood surfaces, using a brush or roller.
- Allow the primer to dry completely according to the manufacturer's instructions.
- Once the primer is dry, lightly sand the surface again to smooth out any imperfections.
- Apply a coat of paint in your desired color, using a brush or roller, ensuring even coverage.
- Allow the paint to dry completely between coats, and apply additional coats if necessary for a more vibrant finish.
- Finally, seal the painted trim with a clear protective topcoat for added durability.
By following these steps, you can achieve a professionally finished wood trim around your outside door that will enhance the overall curb appeal of your home.
Maintaining And Preventing Future Damage
To fix wood trim around an outside door, start by carefully inspecting for any signs of damage, such as rot or cracks. Repair any issues with wood filler and sand the trim smooth. Apply a fresh coat of exterior paint or sealant to protect the wood from future damage.
Regular maintenance will help prevent further issues.
Maintaining and Preventing Future Damage
Regular Inspection and Maintenance
Regular inspection and maintenance of wood trim around outside doors is crucial for preserving the beauty and functionality of your entryway. By following some simple steps and maintaining a routine, you can protect your wood trim from damage caused by weather elements and wear and tear over time.
- Inspect the wood trim periodically for any signs of damage, such as cracks, peeling paint, or warping. Take note of any areas that require immediate attention.
- Clean the wood trim using a mild detergent and a soft cloth or sponge. Gently scrub away any dirt or debris that may have accumulated. Rinse with water and dry thoroughly with a clean cloth.
- Touch up any paint chips or areas where the paint has worn off. Use a high-quality exterior paint that matches the existing color of the trim. Apply the paint with a brush, following the grain of the wood for a seamless finish.
- Check for any signs of insect infestation, such as small holes or sawdust-like residue. If you notice any pests, consult with a professional exterminator to appropriately treat the issue.
- Apply a sealant or protective wood finish to prevent moisture from penetrating the wood. This will help maintain the integrity of the trim and prevent rotting or warping. Ensure the chosen product is suitable for exterior use and follows the manufacturer's instructions.
- Consider adding weatherstripping around the edges of the door to create a tight seal. This will not only protect the wood trim but also improve energy efficiency by reducing drafts and air leakage.
- Monitor the area around the door for any signs of water damage or leaks. If you notice water pooling or seeping in, investigate the source of the issue and address it promptly. This could involve fixing a faulty gutter, redirecting downspouts, or ensuring proper drainage away from the door.
- During snowy or icy conditions, take extra care when using ice melt or deicing agents around the door. These chemicals can damage the wood trim, so try to minimize their use and clean the area thoroughly afterwards.
Protective Measures
To protect your wood trim from future damage, implement these additional measures:
- Install awnings or overhangs above the door to provide shade and protect the trim from direct sunlight, rain, and snow. This will significantly reduce exposure to harsh weather conditions.
- Avoid hanging heavy decorations or plants directly on the wood trim, as they can cause stress and lead to damage over time. Use alternative methods, such as hooks or brackets, to support items without compromising the integrity of the trim.
- Trim back any nearby foliage or tree branches that may be brushing against the wood, as these can cause scratches and promote moisture buildup. Maintain a clear space around the door to minimize potential damage.
By implementing regular inspection and maintenance practices, as well as protective measures, you can ensure the longevity and beauty of the wood trim around your outside door. Taking these precautions will help prevent future damage and save you from costly repairs or replacements down the line.
Frequently Asked Questions Of How To Fix Wood Trim Around Outside Door
How Do You Fix Wood Trim Around An Outside Door?
To fix wood trim around an outside door, first, remove the damaged trim using a pry bar. Then, prepare the area by cleaning and sanding it. Next, cut the new trim to size and attach it using screws or nails.
Finally, paint or stain the trim to match the rest of the door.
What Tools Do I Need To Fix Wood Trim Around An Outside Door?
To fix wood trim around an outside door, you will need a few tools such as a pry bar, a putty knife, a sanding block, a miter saw or a coping saw, a drill or a hammer, screws or nails, and a paintbrush or a stain brush.
How Long Does It Take To Fix Wood Trim Around An Outside Door?
The time it takes to fix wood trim around an outside door can vary depending on the extent of the damage and the experience level of the person doing the repair. However, on average, it can take anywhere from a few hours to a full day to complete the repair.
Can I Fix Wood Trim Around An Outside Door Myself Or Should I Hire A Professional?
Fixing wood trim around an outside door can be done as a DIY project if you have some basic carpentry skills and the necessary tools. However, if you are unsure or uncomfortable with the process, it's best to hire a professional to ensure the trim is repaired correctly and to avoid any further damage.
Conclusion
To wrap up, fixing wood trim around outside doors is a doable task that requires attention to detail and some basic tools. By carefully following these steps, you can restore the beauty and functionality of your wood trim, enhancing the overall aesthetic appeal of your home.
Remember to prioritize safety, take your time, and enjoy the satisfaction of a job well done. Happy repairing!


0 Comments